Import Student Records Into LearnDash with Uncanny Toolkit Pro
Have you recently switched your LMS platform over to LearnDash? Or maybe you’re just in the beginning stages of considering a migration. Either way, you’ll eventually be faced with the question: how do I import my students’ records into LearnDash?
First things first, bookmark this page! You’ll be glad you did when it comes time to transfer those records.
While there are plenty of options out there for transferring course and quiz content over to LearnDash, carrying forward your students’ academic records isn’t always so simple.
That’s where Uncanny Toolkit Pro and Uncanny Automator Pro come in handy. With these two plugins, you can easily transfer your students’ records from any old LMS to your new LearnDash platform with just a few clicks.
Without further ado, let’s get started making that migration.
Introduction
We probably don’t have to tell you; maintaining meticulous records is a must for any elearning business. However, solutions for migrating student progress aren’t as obvious or seamless as solutions for migrating course and quiz content. Unless you have the right tools for the job.
In this guide, we’ll show you how to import your students’ course and quiz completion data using Uncanny Toolkit Pro and Uncanny Automator Pro.
We’re certain that you’ll find this to be the easiest, most secure and quickest way to migrate your students’ progress to your new LearnDash platform. First, let’s take a look at the tools we’ll be using.
Uncanny Toolkit Pro
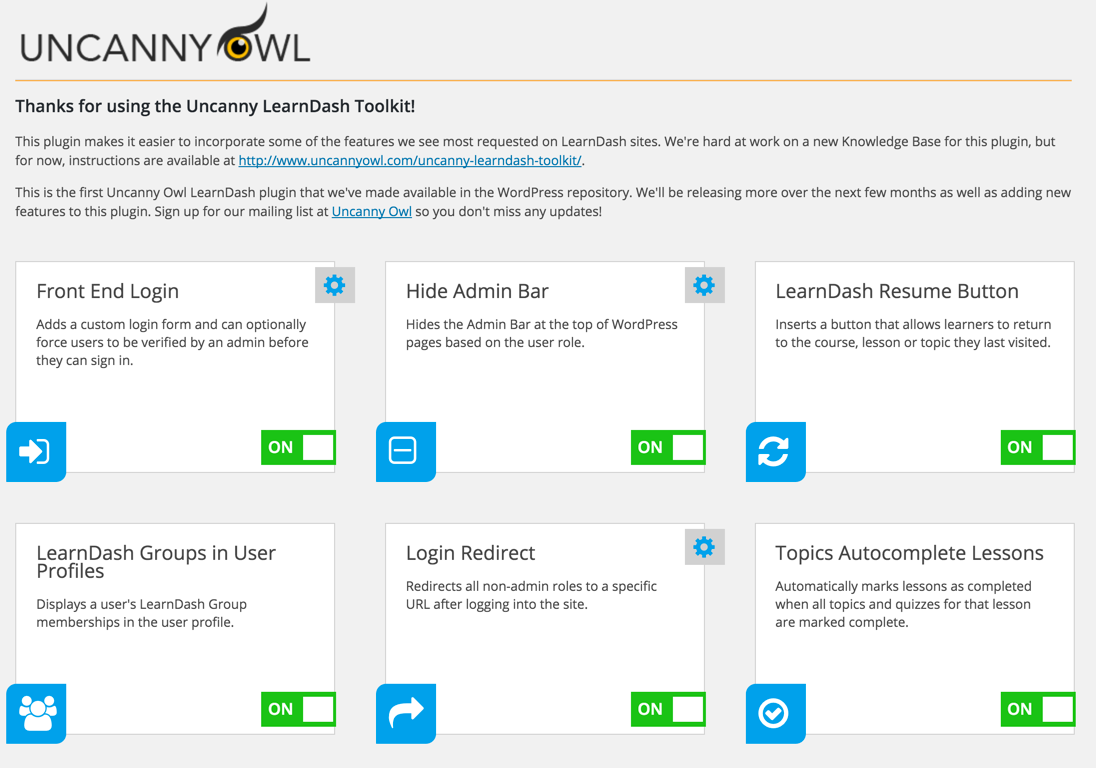
Uncanny Toolkit Pro is a feature-rich addon that expands LearnDash’s functionality. Improve the student experience with modules such as lesson drips and course access expiry counters. Simplify life for instructors with features such as group registration, certificate previews and improved CSV reports.
Of course, administrators will also love Toolkit Pro features such as the “Import Users” and “Learner Transcripts” modules. We’ll be using the “Import Users” feature in this guide as the first step in transferring our student records.
Grab Toolkit Pro now so you can follow along.>>>
Uncanny Automator Pro
Uncanny Automator is the #1 automation and integration tool for WordPress websites. Using simple combinations of triggers and actions, you can automate repetitive tasks (such as transferring student records) and connect your favorite apps and plugins.

Automator Pro gives you access to WordPress user meta where you can safely and securely store your students’ academic progress. With the click of a button, you’ll be able to update thousands of student records at once.
Get your Automator Pro license now so you can streamline your administrative workflows.>>>
Import Student Course Completions to LearnDash
Now that you have all of the tools you need, it’s time to get those records into LearnDash. The process of transferring student course and quiz completion data can be broken down into three (3) basic steps:
- Create one or more CSV files containing the relevant student information
- Import users to WordPress (or update existing users) with Toolkit Pro
- Mark courses and/or quizzes complete for select students with Automator Pro
Using Automator logs (which we’ll show you towards the end of this tutorial) you’ll be able to review the transfer process to ensure that your records are accurate. First, let’s start with creating and formatting our CSV file.
1. Create a CSV File
The first step in importing student records to LearnDash is to create a CSV file that contains all of the student information that you wish to transfer.
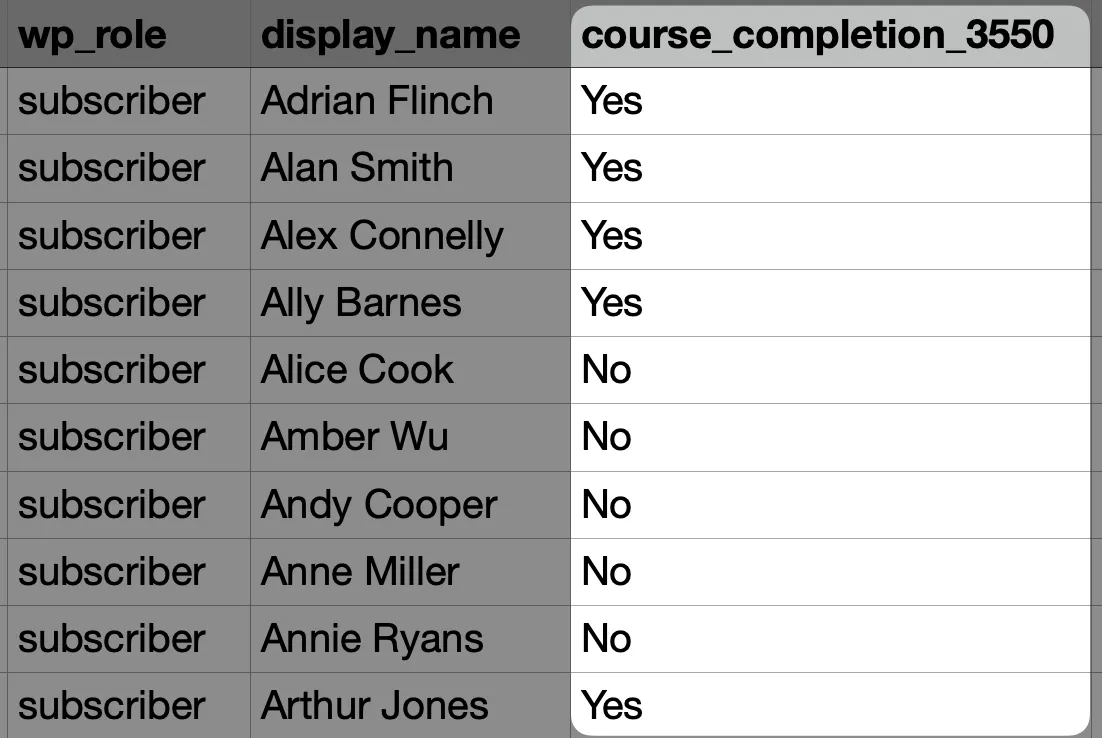
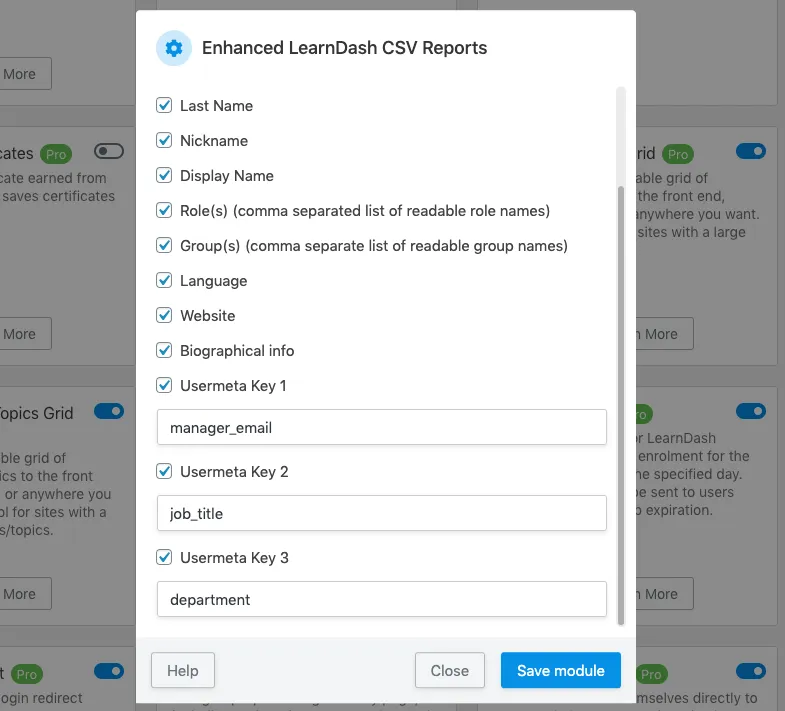
The “User Import” module that we’ll demonstrate in the next step allows you to create user meta fields (where plugins like LearnDash store user data) by adding columns in your CSV file. For example, in our CSV file, we created the column, “course_completion_3550” where the number “3350” is the course ID of the LearnDash course for which we want to transfer student progress.
(Note: Click here if you do not know how to find the course ID for your LearnDash courses.)
If you arrange the rows of your CSV file by user under a column heading such as “user_email” or “display_name”, you can add as many columns to create as many unique user meta fields as is needed to transfer all of a students’ records.
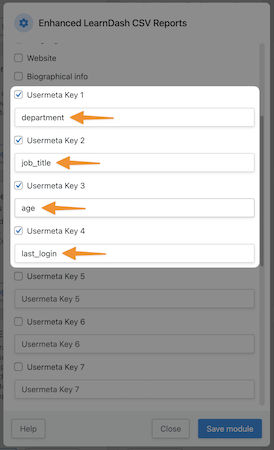
If you’re uncertain how exactly to format your CSV table, download the sample table under Users > Import Users from your WordPress Admin Dashboard and use that as a template. You can then add your own column headings such as “job_title” or “department” to transfer more user data.
2. Import Users with Toolkit Pro
Once you have created a CSV file with all of the relevant student information, you can import the new users (or update existing ones) with the “Import Users” module.
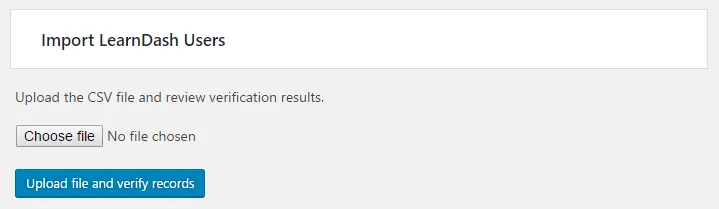
From your WordPress Admin Dashboard, navigate to Users > Import Users. This screen contains instructions for configuring your Toolkit Pro settings to personalize the import process.
In our experience, most users prefer to disable email notifications for the import process to avoid confusing their students, group leaders and administrators. If you would like more detailed instructions on configuring your Toolkit Pro settings and how those settings may impact your users’ experience, click here.)
After configuring these settings under the Options and Email Settings tabs, navigate to the Import Users tab and upload the CSV file.
Once Toolkit Pro completes the upload process, new users will be created if they don’t already exist while existing users will be updated with the new information from the CSV file. The new custom meta fields (i.e. what were the column headings in your CSV file) will have values that correspond to the cell value at the intersection of the user’s row and the meta field column.
3. Mark Course/Quiz Completions for Select Students
Now, this is where the magic happens. We’re going to create an Automator recipe (i.e. combination of triggers and actions) to update all of our student records at once.
First, from your WordPress Admin Sidebar, navigate to Automator > Add new recipe. In the pop-up window that appears, select Everyone.

Give your recipe a name that makes it easy to recognize at a glance. For example, we’ve named the recipe “Mark 3550 Course Completions”.
From the menu of available integrations, select Run now then select Trigger recipe manually from the drop-down list that appears.

In the Actions panel, click Add and select User loop from the drop-down list.

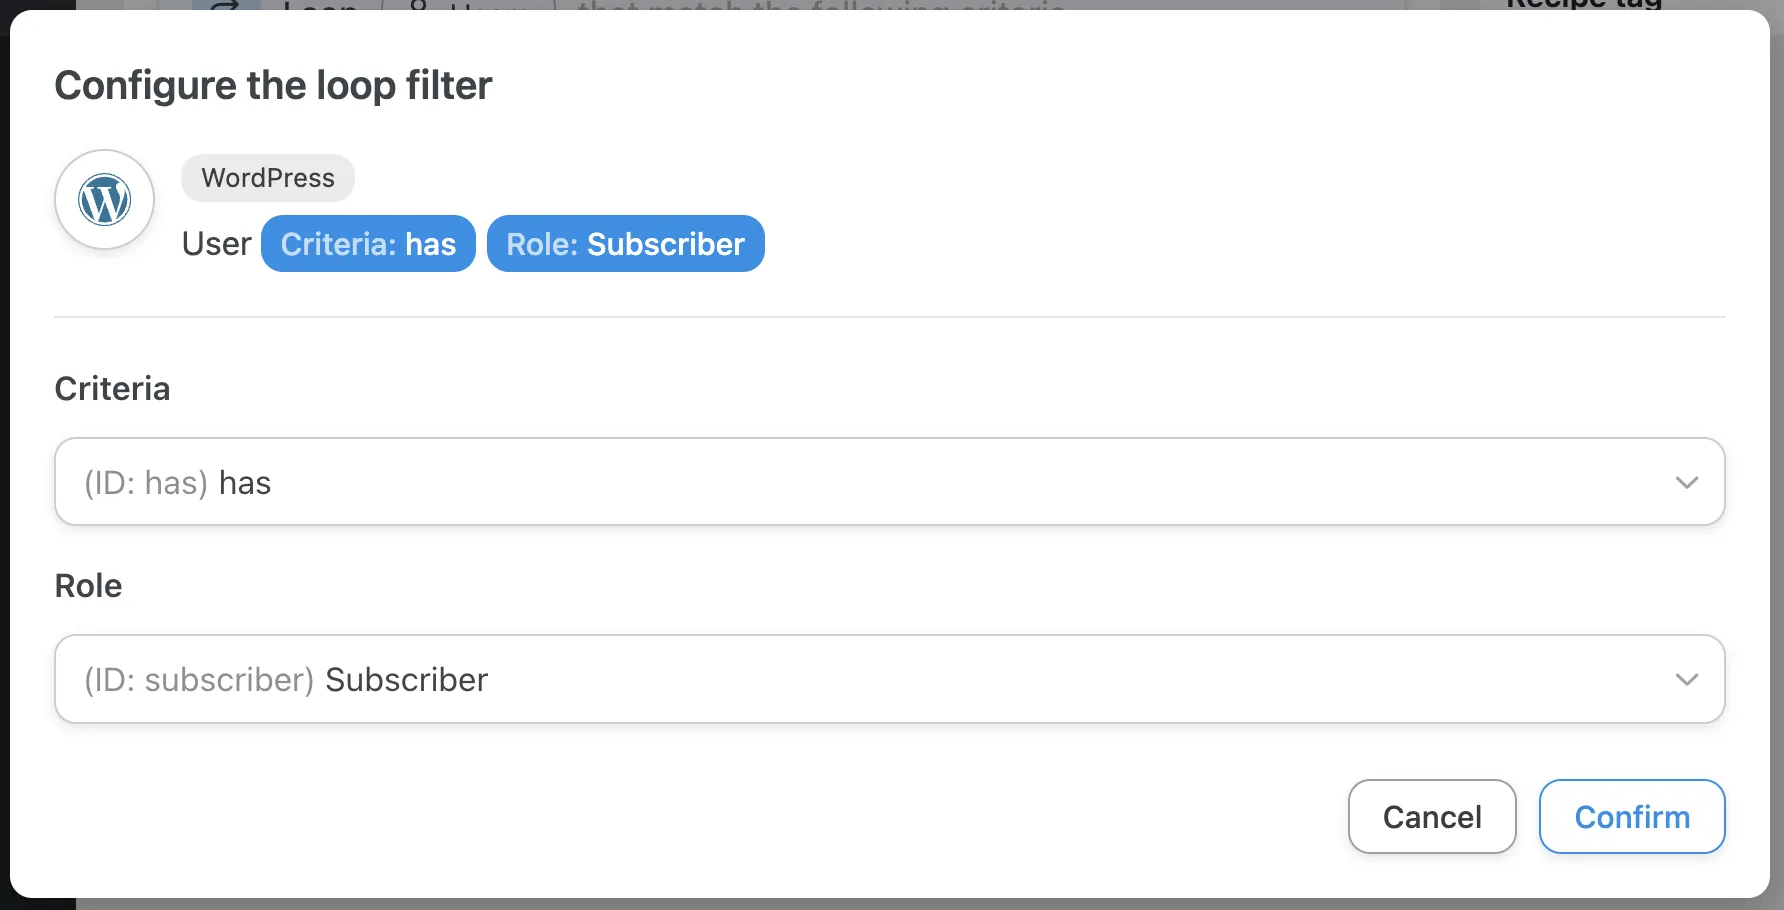
By default, Automator will run user loops on all users who do not have the role “Administrator” in WordPress. You can, however, change the user loop filter by hovering over it, clicking on the Edit filter icon and changing the conditions of the filter. For example, we have altered the conditions so that the user loop will only run on users with the role “Subscriber”.
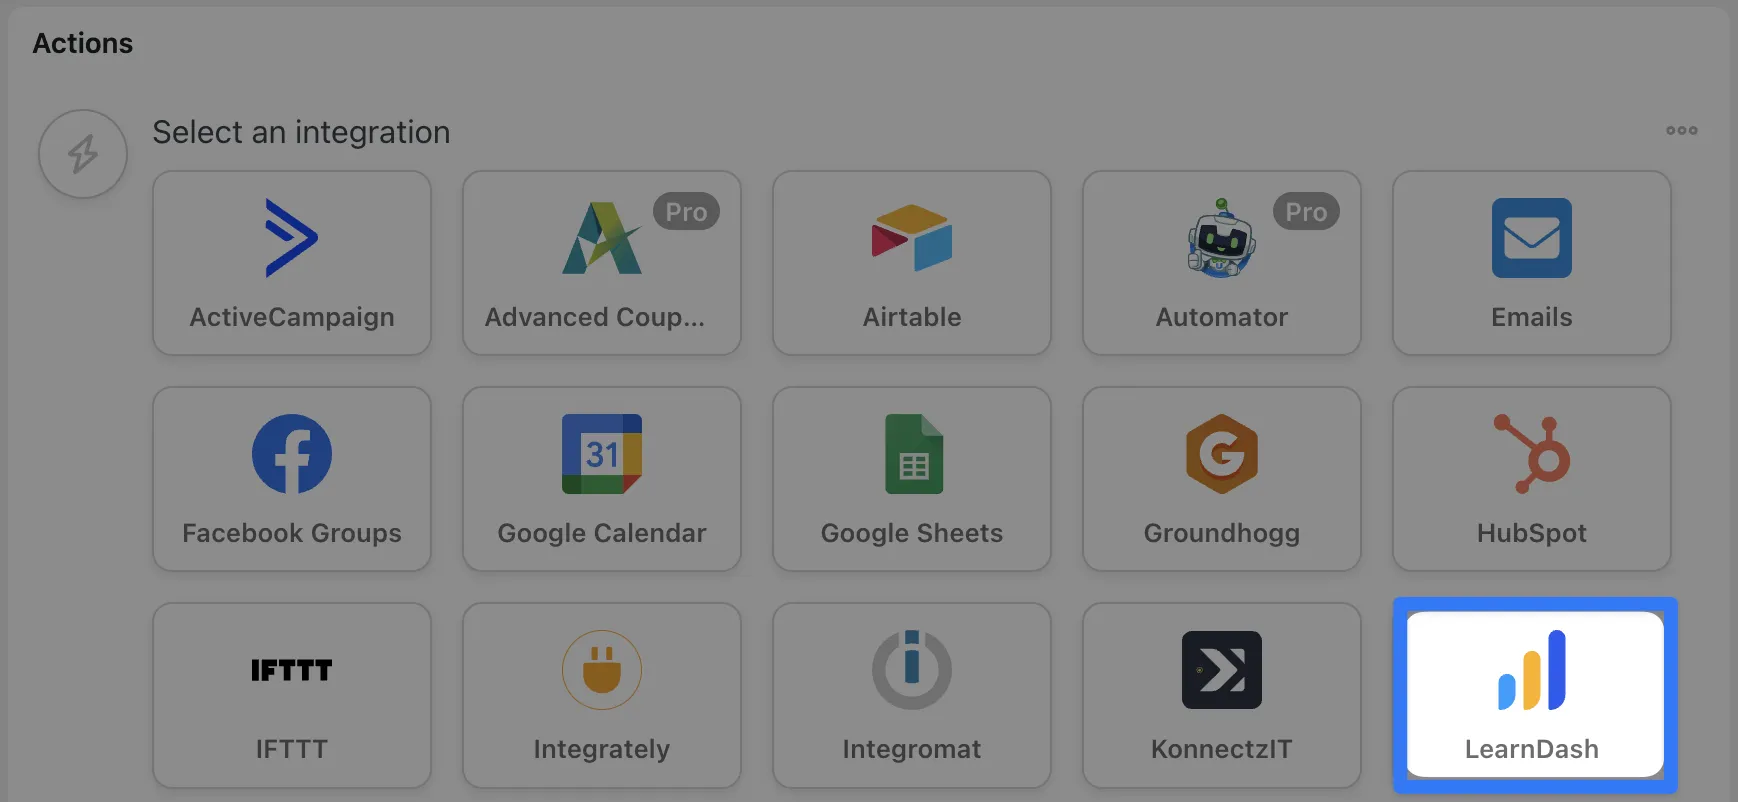
Next, within the user loop, click Add action and select LearnDash from the menu of available integrations.
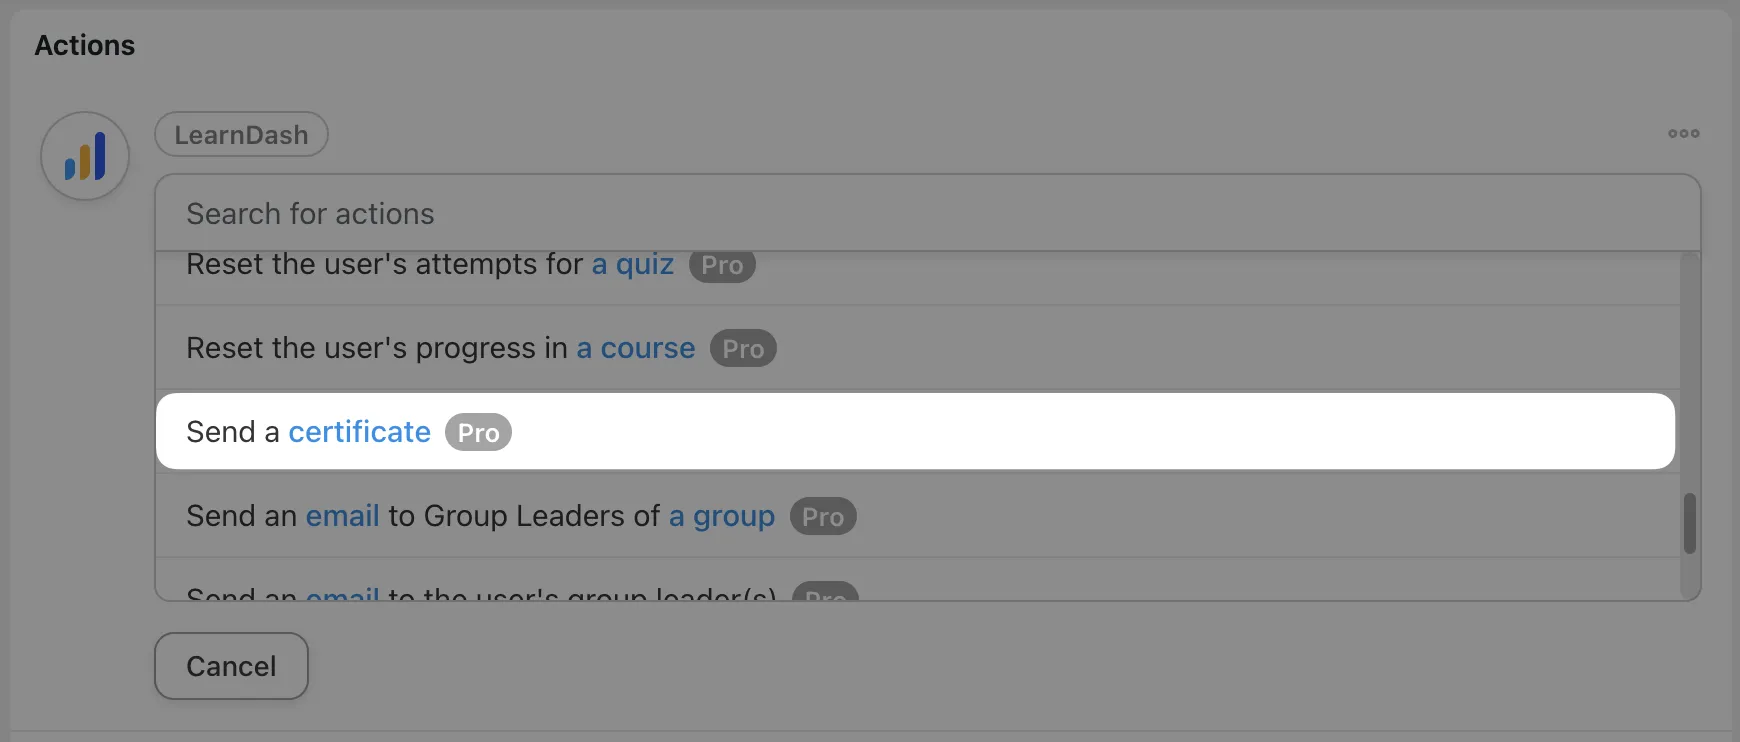
From the drop-down list that appears, select Mark a course complete for the user.

Automator will prompt you to select the course you would like to mark complete. For your convenience, the course list will have the course title as well as the course ID.
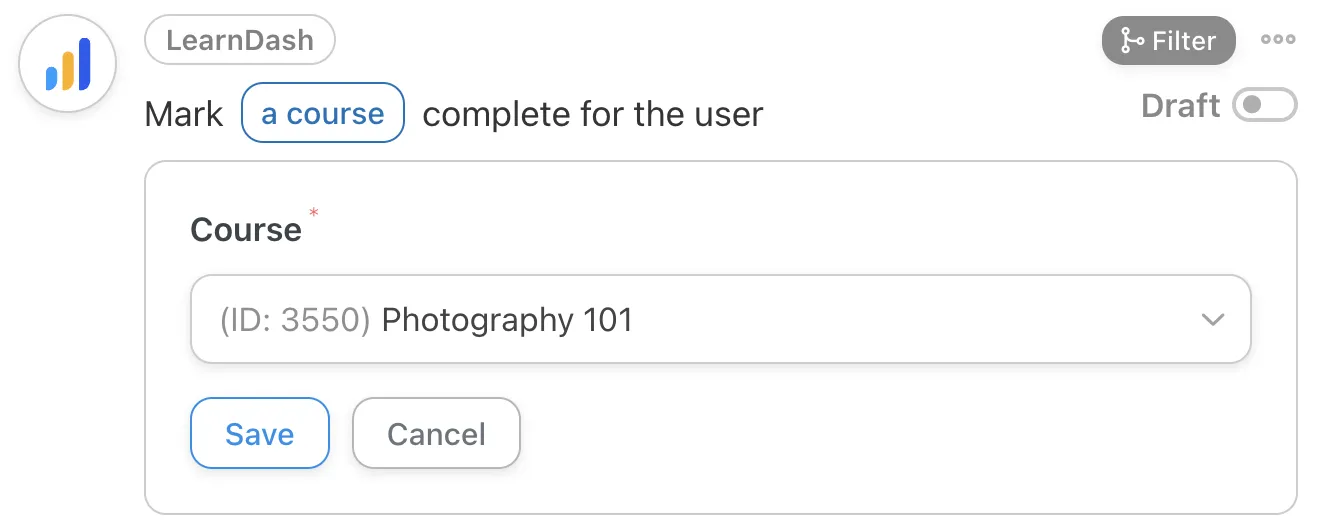
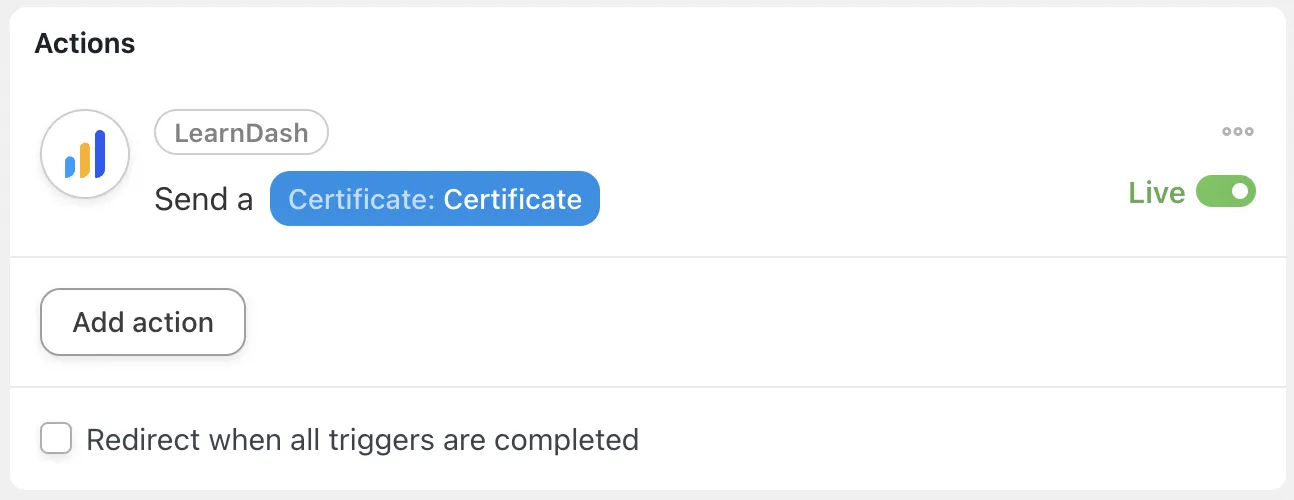
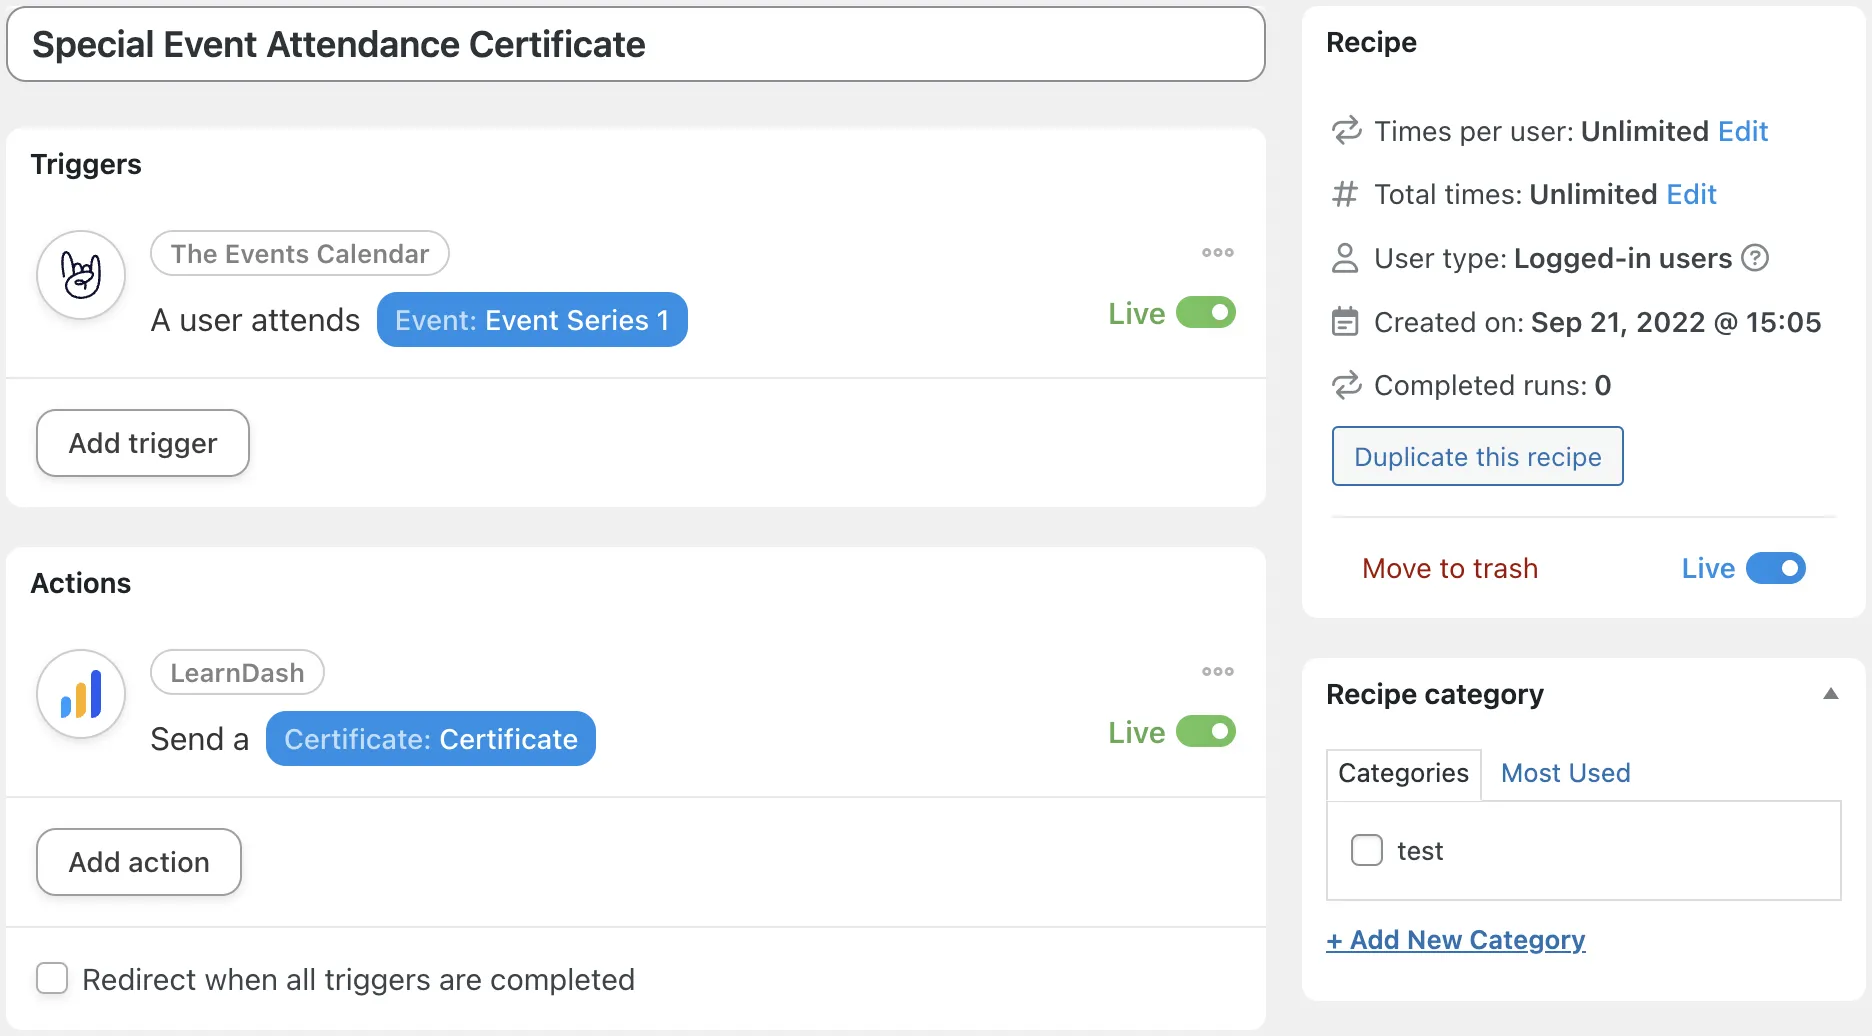
Once you have selected the course, click Save. Your user loop should now look something like this:

Needless to say, it’s unlikely that all of your users will have completed all of your courses. That’s why we created the user meta “course_completion_3550”. We can now use this metadata in our recipe to differentiate between the users who have completed the course and those who have not.
Hover over the LearnDash action that you just created and click Filter.
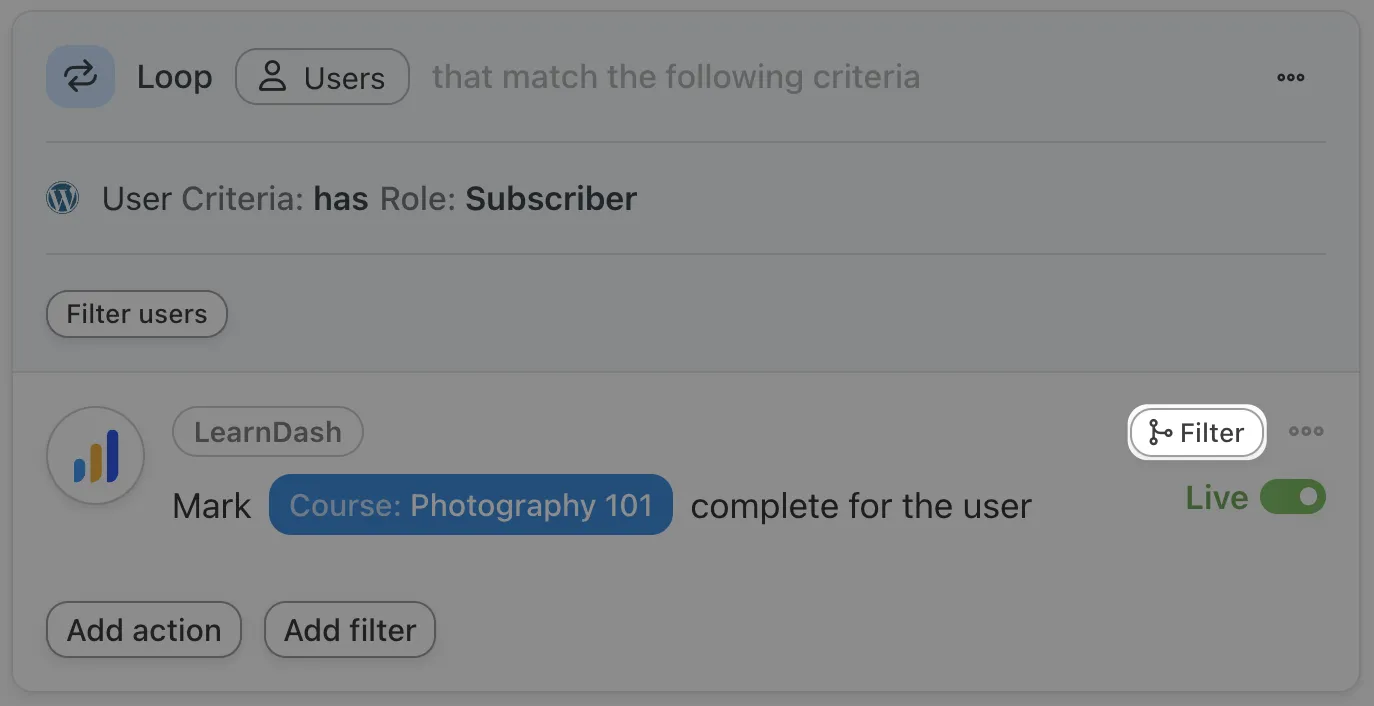
In the Condition window that appears, select A token meets a condition.

Automator will prompt you to configure the rule that defines the condition for the token. In the Token field, click the Asterisk and select Advanced > User meta from the drop-down list that appears.

Automator will now prompt you to enter the user meta field that you wish to target (which, in our example, is “course_completion_3550”). Next, configure the rule that the meta field value must satisfy for the action to run on the user. In our example, this value is “Yes” (i.e. the value in our CSV file that we used to indicate whether or not a user had completed a course).

Once you’re finished, click Save filter. Your user loop should now look something like this:

Once you click Run now, Automator will cycle through every user on your WordPress website that satisfies the user loop filter(s) and mark the LearnDash course complete for them if they have the user meta value(s) that you’ve specified.
Of course, you’ll want to review the successful transfer of your student records, but you likely don’t have time to do this individually. Thankfully, you can check the recipe logs for a summation of the actions taken. Simply click View logs in the recipe panel and review that the correct user(s) have had their academic records updated.

Automator allows you to add as many actions and filters to recipes as you want. You can choose to use a single recipe to import all course completions to LearnDash or unique recipes for each course. It’s up to you. Just know that the more actions and/or users you include in a single recipe, the longer it will take to execute the recipe. Additionally, the recipe logs may not be as easy to review.
Import Student Lesson and Quiz Completions to LearnDash
Chances are, when you migrate your LMS to LearnDash, most if not all of your students will be in the middle of their education.
Thankfully, Automator gives you the ability to transfer your student records on a more granular level. Simply add lesson and quiz level data in your CSV file as you did for courses. Then, recreate the Automator recipe we configured above but use the Mark a lesson complete for the user and the Mark a quiz complete for the user actions instead.

Conclusion
Hopefully now, you feel confident in safely, securely and speedily transferring your student records into LearnDash. What we showed you in this brief guide, however, was just the beginning of what you can do with Toolkit Pro and Automator to improve your and your users’ LearnDash experience.
Keep coming back to learn more about how Uncanny Toolkit Pro and Automator can enhance your LMS website.
Still not sure how to import some of your students’ academic progress to LearnDash? Drop us a line in the comments section below. The learning never stops!


 We’ve added a really handy feature for adding log in and log out links to your menu, widgets, or posts!
 We’ve incorporated our breadcrumb link plugin into the Toolkit and improved how it works.