
Overview
This article walks you through installing Uncanny Groups, activating your license, and configuring the settings that control how groups behave on your site.
Before you start
- Confirm your site meets the Technical Requirements.
- Have your plugin ZIP file and license key ready. Both are in your purchase email and your Uncanny Owl account.
Install the plugin
- In WordPress, go to Plugins > Add New > Upload Plugin.
- Upload the Uncanny Groups ZIP file and click Install Now.
- Click Activate.
- On the Uncanny Groups > Settings page, paste your license key and activate. This enables automatic updates.
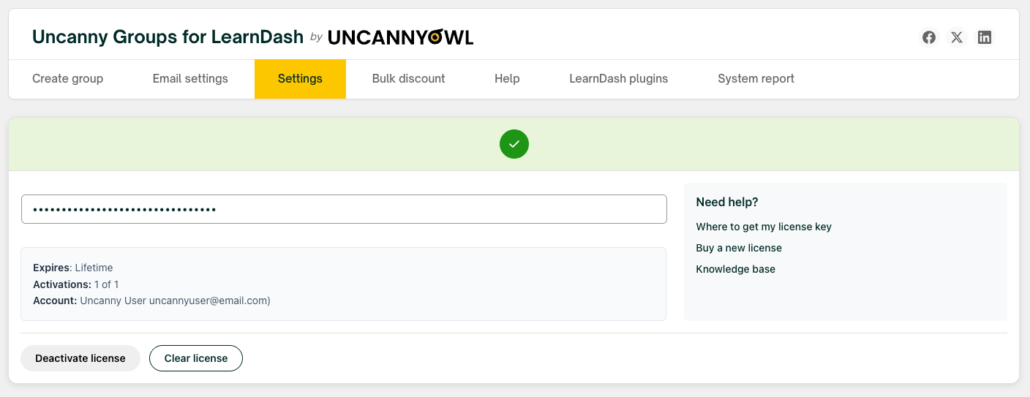
On activation, Uncanny Groups automatically creates the front-end pages it needs and sets up default email templates. You’ll find everything under Uncanny Groups > Settings.
Group Management pages
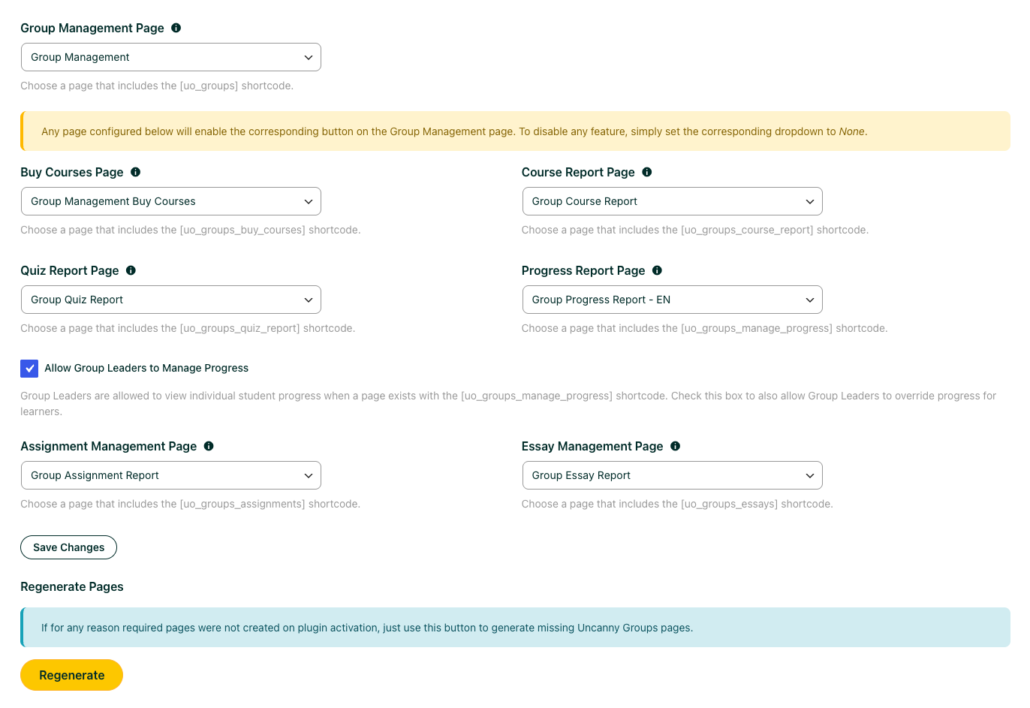
The Settings page tells the plugin which front-end pages handle group management, registration, and reports. These are created for you on install, but you can swap in your own pages here. Setting a dropdown to None hides its associated button from the interface.
Settings reference
General Options
| Setting | What it does | When to use it |
|---|---|---|
| Per Seat Text | Renames the “Seat” label (e.g. “License” or “User”) throughout the interface | Match your audience’s vocabulary |
| Allow Group Leaders to remove students at any time | Lets leaders remove members even after they’ve started a course | Turn off to protect in-progress enrollments |
| Do not free up a seat when a student with “Completed” status is removed | Keeps the seat consumed when a finished learner is removed | Use when completions should permanently count against seats |
| Group Leaders don’t use seats | Excludes leaders from the seat count | Use when leaders manage but don’t take the course |
| Do not automatically add Group Leaders as Group Members | Prevents leaders from also being enrolled as learners | Use for manager-only leaders |
| Allow Group Leaders to edit users | Lets leaders edit member profile details from the front end | Use when leaders own account management |
| Allow Group Leaders to change email | Lets leaders update a member’s email address | Useful when leaders correct sign-up typos or manage logins on members’ behalf |
| Allow Group Leaders to change username | Lets leaders change member usernames | Enable only if usernames need to be editable |
| Use Progress Report instead of Course Report for individual users | Swaps the default report style | Choose the view your leaders prefer |
| Show “basic” (non-upgraded) groups in front end with access to reports only | Shows non-upgraded native groups in the interface (reports only) | Use during migration from native groups |
LearnDash Options
| Setting | What it does |
|---|---|
| Use LearnDash’s “legacy” course progress data | Reports from older progress data for backward compatibility |
| Hide the Courses / Users column in the list of LearnDash groups | Removes a heavy column to speed up report loading on large groups |
| Include data from child groups in reports | Rolls child-group progress up into the parent group’s reports |
eCommerce Options (WooCommerce)
| Setting | What it does |
|---|---|
| Automatically include Group Course products in Group License purchases | Bundles the course product into license sales |
| Enable association of products and groups | Maps products to groups for automatic enrollment on purchase |
| Autocomplete Uncanny Groups orders | Marks qualifying orders complete so groups are created without manual steps |
| Default License Product category | Assigns a category to licenses created on the fly |
| Adding Seats Message | Customizes the text shown when leaders add seats |
Group Registration Form – Terms & Conditions
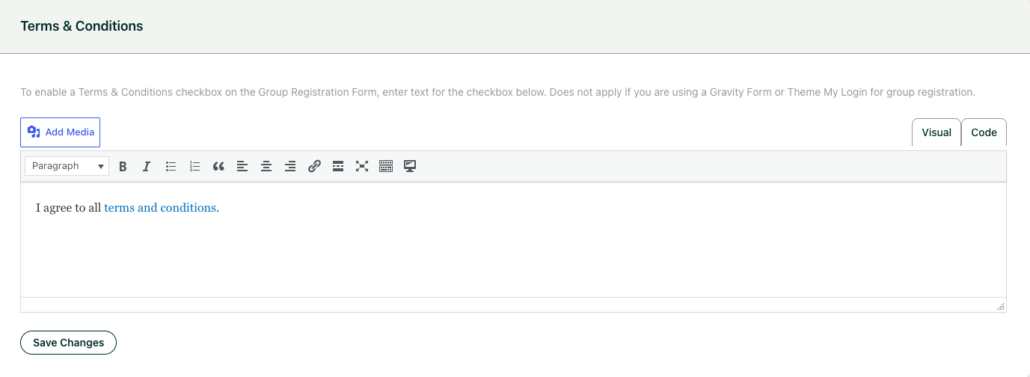
Add text here to display a terms acceptance checkbox on the built-in group registration form. Leave it blank to hide the checkbox.
Where a group’s settings appear on the edit page
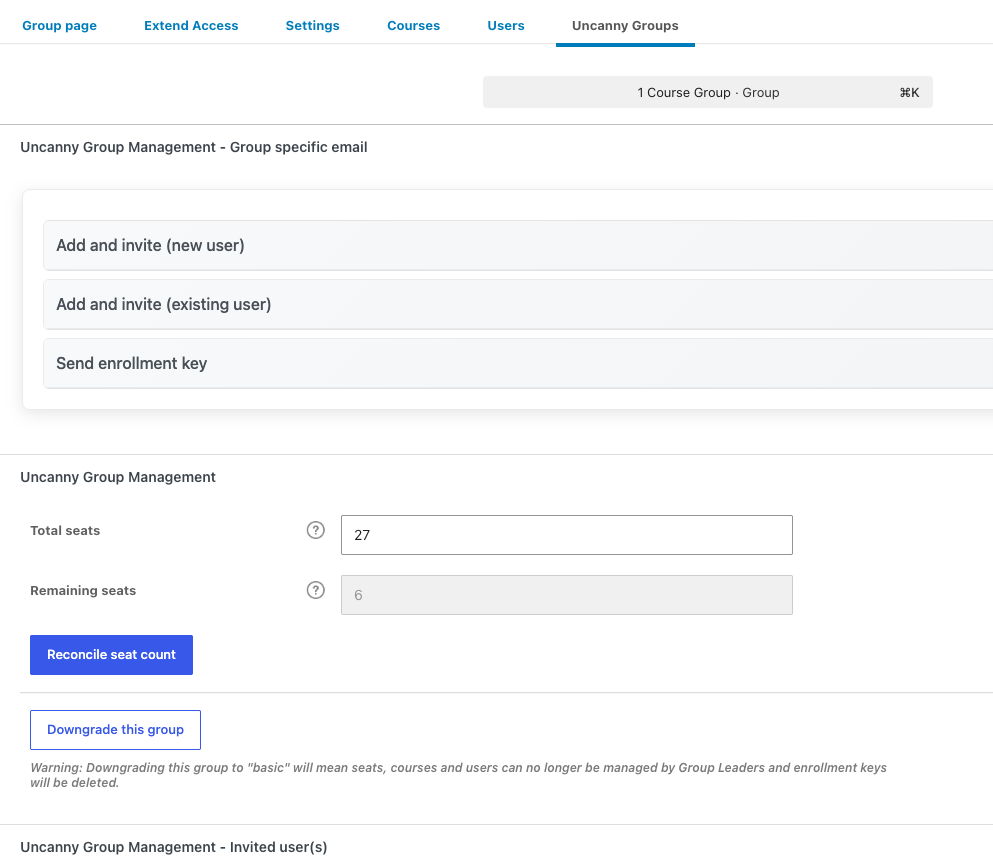
As of Uncanny Groups 6.1.8, every Uncanny Groups setting for a group lives under a dedicated Uncanny Groups tab at the top of the group’s edit page. Open a group under LearnDash LMS > Groups and click the Uncanny Groups tab to find Total seats, Remaining seats, the Reconcile seat count and Downgrade this group controls, and the group-specific email overrides.
This also resolves a WordPress 7.0 change: the redesigned block editor tucks classic plugin metaboxes behind a collapsed “Meta Boxes” pane, so group options could seem to disappear after upgrading. The dedicated Uncanny Groups tab gives those settings a permanent, visible home. If you’re on a version older than 6.1.8 and can’t find a group option, update to 6.1.8 or later — or open the Meta Boxes pane in the editor.
Next steps
- New here? Follow the Getting Started walkthrough.
- Set up your Group Management pages.
- Configure Group Emails.