
Overview
The View Codes page in the WordPress admin lets you see all codes in a batch, check their status, and make changes to individual codes. You can access it by navigating to Uncanny Codes > View Codes and selecting a batch from the drop-down list.
Viewing Codes
When you select a batch, the View Codes page displays a table listing every code in that batch. The table includes the following columns:
- Action — Provides options to edit or cancel individual codes.
- Code Name — The unique code string.
- Code Type — The type of code (e.g., Automator, Group, Course)*.
- Status — Whether the code is available, redeemed, or cancelled.
- Redeemed — Shows who redeemed the code and when, if applicable.
*For most sites, Automator will be the most common code type, as its integration with Uncanny Automator offers the most flexibility for code redemption.
Refreshed Admin Table UI
(Updated in v5.0)
The View Codes admin interface has been updated with a modern, refreshed table design. The new UI provides a cleaner layout with improved readability and better visual hierarchy, making it easier to scan through large batches of codes at a glance.
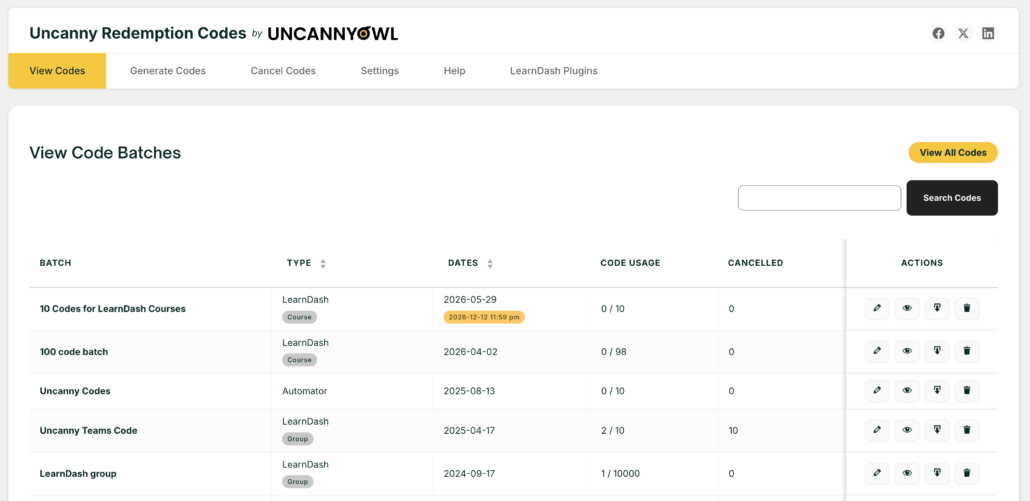
Deleted User Label
(Added in v4.4)
If a code was redeemed by a user who has since been deleted from WordPress, the Redeemed column will display a “Deleted User” label instead of the username. This makes it easy to identify codes that were redeemed by users who no longer exist in the system, which is helpful for auditing and troubleshooting.
Editing Codes
To edit a code, click the Edit link in the Action column for the code you want to modify. This opens the code editing view where you can update code details.
Individual Code Expiration Date Modification
(New in v5.0)
You can now modify the expiration date associated with individual codes directly from the editing interface. This is useful for extending or adjusting code validity, correcting dates that were set incorrectly during batch generation, or accommodating special circumstances for specific users.
To modify a code’s date:
- Navigate to Uncanny Codes > View Codes
- Select the batch containing the code expiration date you want to edit
- Click View on the code you want to modify
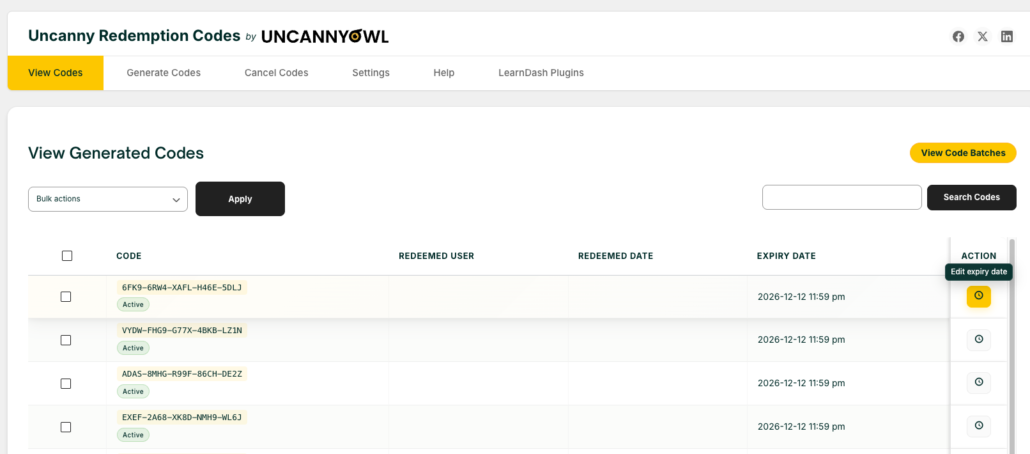
- Click the Edit Expiration Date button in the row that contains the expiration date you wish to change
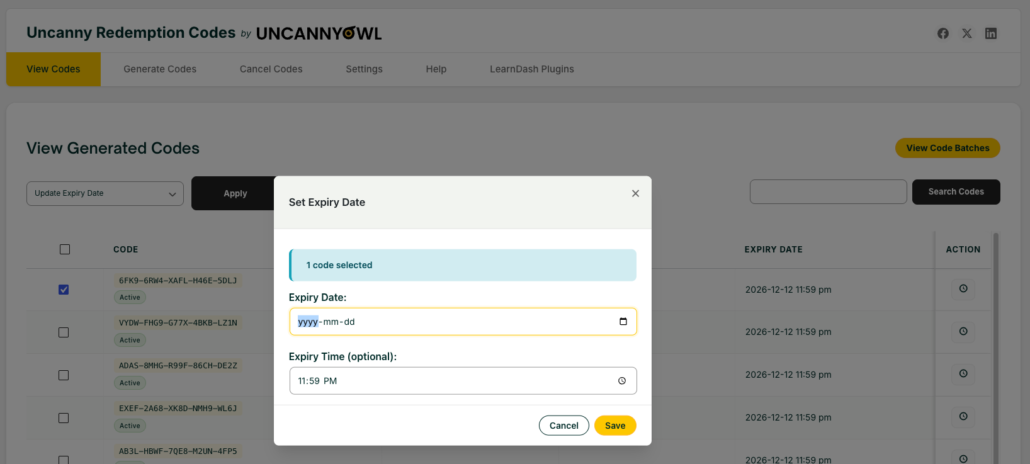
- Update the date field as needed
- Click Save to apply the changes
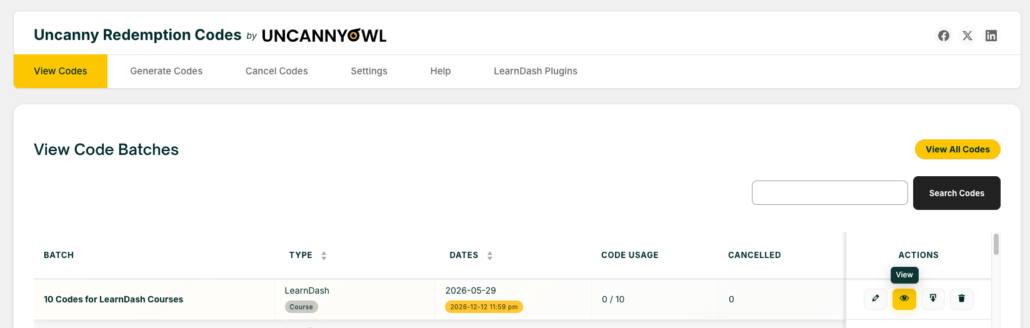
Step 3: Click View on the code you want to modify
Downloading Code Data
You can download code data as a CSV file from the View Codes page. Click the Download CSV button to export the batch data.
Enhanced
CSV Columns
(Added in v4.4)
The CSV download now includes additional columns for more comprehensive reporting:
| Column | Description |
|---|---|
| Status | The current status of the code (available, redeemed, cancelled) |
| Issue Date | The date the code was generated or added to the batch |
| Order ID | The WooCommerce order ID associated with the code, if the code was sold via WooCommerce |
| Linked Product | The WooCommerce product linked to the code batch, if applicable |
| Redeemed Times | The number of times the code has been redeemed (relevant for codes that allow multiple redemptions) |
These additional columns make it easier to generate detailed reports, reconcile code usage with WooCommerce orders, and track code lifecycle data outside of WordPress.
So, I can’t add a Code Name to my past codes? I have 47 codes in use that are just numbered from 1-47 and I can’t update them with Code names to better identify who they are for? Please confirm this for me.
If you were using a version of Uncanny Codes from before 4.0 and these are LearnDash codes, we did remove some columns in 4.0 (about 8 months ago) that might make it harder to identify old code batches. If that’s the case, you should definitely submit a ticket and we can send you some code that can restore the columns that we hid.