
In this step-by-step guide, we’ll show you how to create and sell LearnDash and WooCommerce promo codes. Use them for course registrations, to sell event tickets or to unlock special features on your website.
So you want to be a master codebreaker, do you? Well, you’ve come to the right place. With Uncanny Codes, you can create and customize unique codes to sell, unlock or promote just about anything on your website.
Whether you want to use codes for event registration, product tie-ins, or to run limited promotions, Uncanny Codes has you covered. In this quick guide, we’ll show you how to create and sell promo codes and feature some of the best ways to use them.
Don’t worry, you won’t actually need to know anything about cryptanalysis in order to follow along.
What You’ll Need
If you want to “crack the code”, you’re going to need a supercomputer— or a cipher machine and a lot of time. But if you’re trying to make some unbreakable codes of your own, all you’ll need are these awesome WordPress plugins.
Uncanny Codes
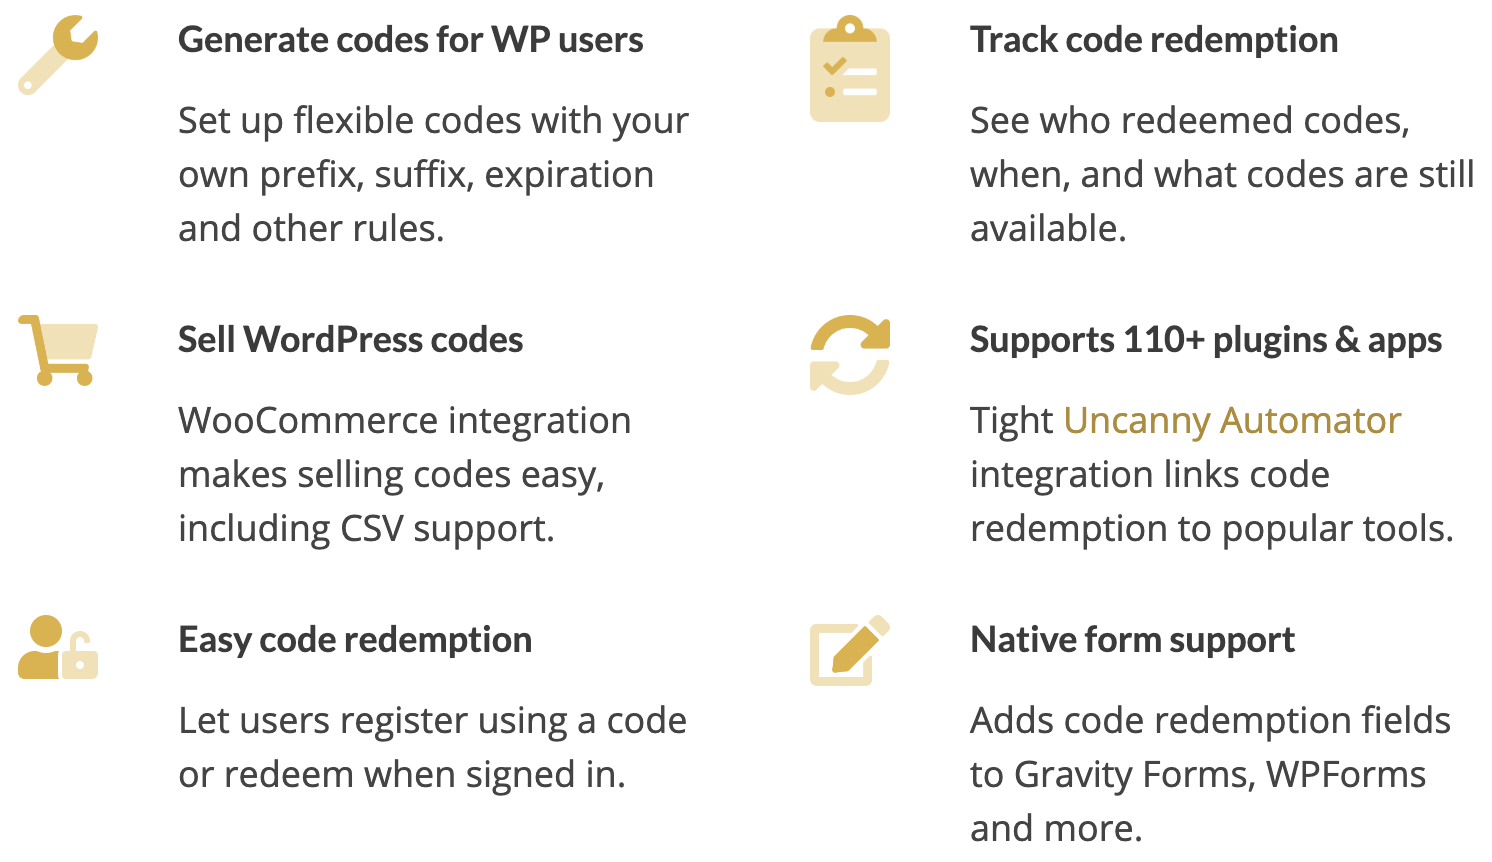
Uncanny Codes is the best code management plugin for WordPress. Auto-generate dozens (or thousands) of codes with your own prefix, suffix, expiration date and usage rules. Native form-building integrations with Gravity Forms, WPForms and others makes Uncanny Codes easy-to-use on the front and end back end.
Click here to download the Uncanny Codes plugin.
Uncanny Automator
Uncanny Automator is the #1 WordPress automation plugin. Create combinations of triggers and actions across 100+ integrations to automate repetitive tasks, improve your workflows, and save time and money.
![]()
Ironically, Automator has a no-code promise (the computer programming kind) that will make creating your own codes (the promotional kind) easier and a lot more fun than trying to crack the Caesar shift. And, not to mention, a lot cheaper than hiring a developer.
Click here to download the Uncanny Automator plugin.
WooCommerce
As the most popular ecommerce plugin for WordPress, WooCommerce needs no introduction—but it’s a key tool in our codebreaking algorithm so we’ll introduce it anyway. In addition to stocking your digital shelves, WooCommerce can handle payment processing, shipping and tracking, marketing, memberships and more.
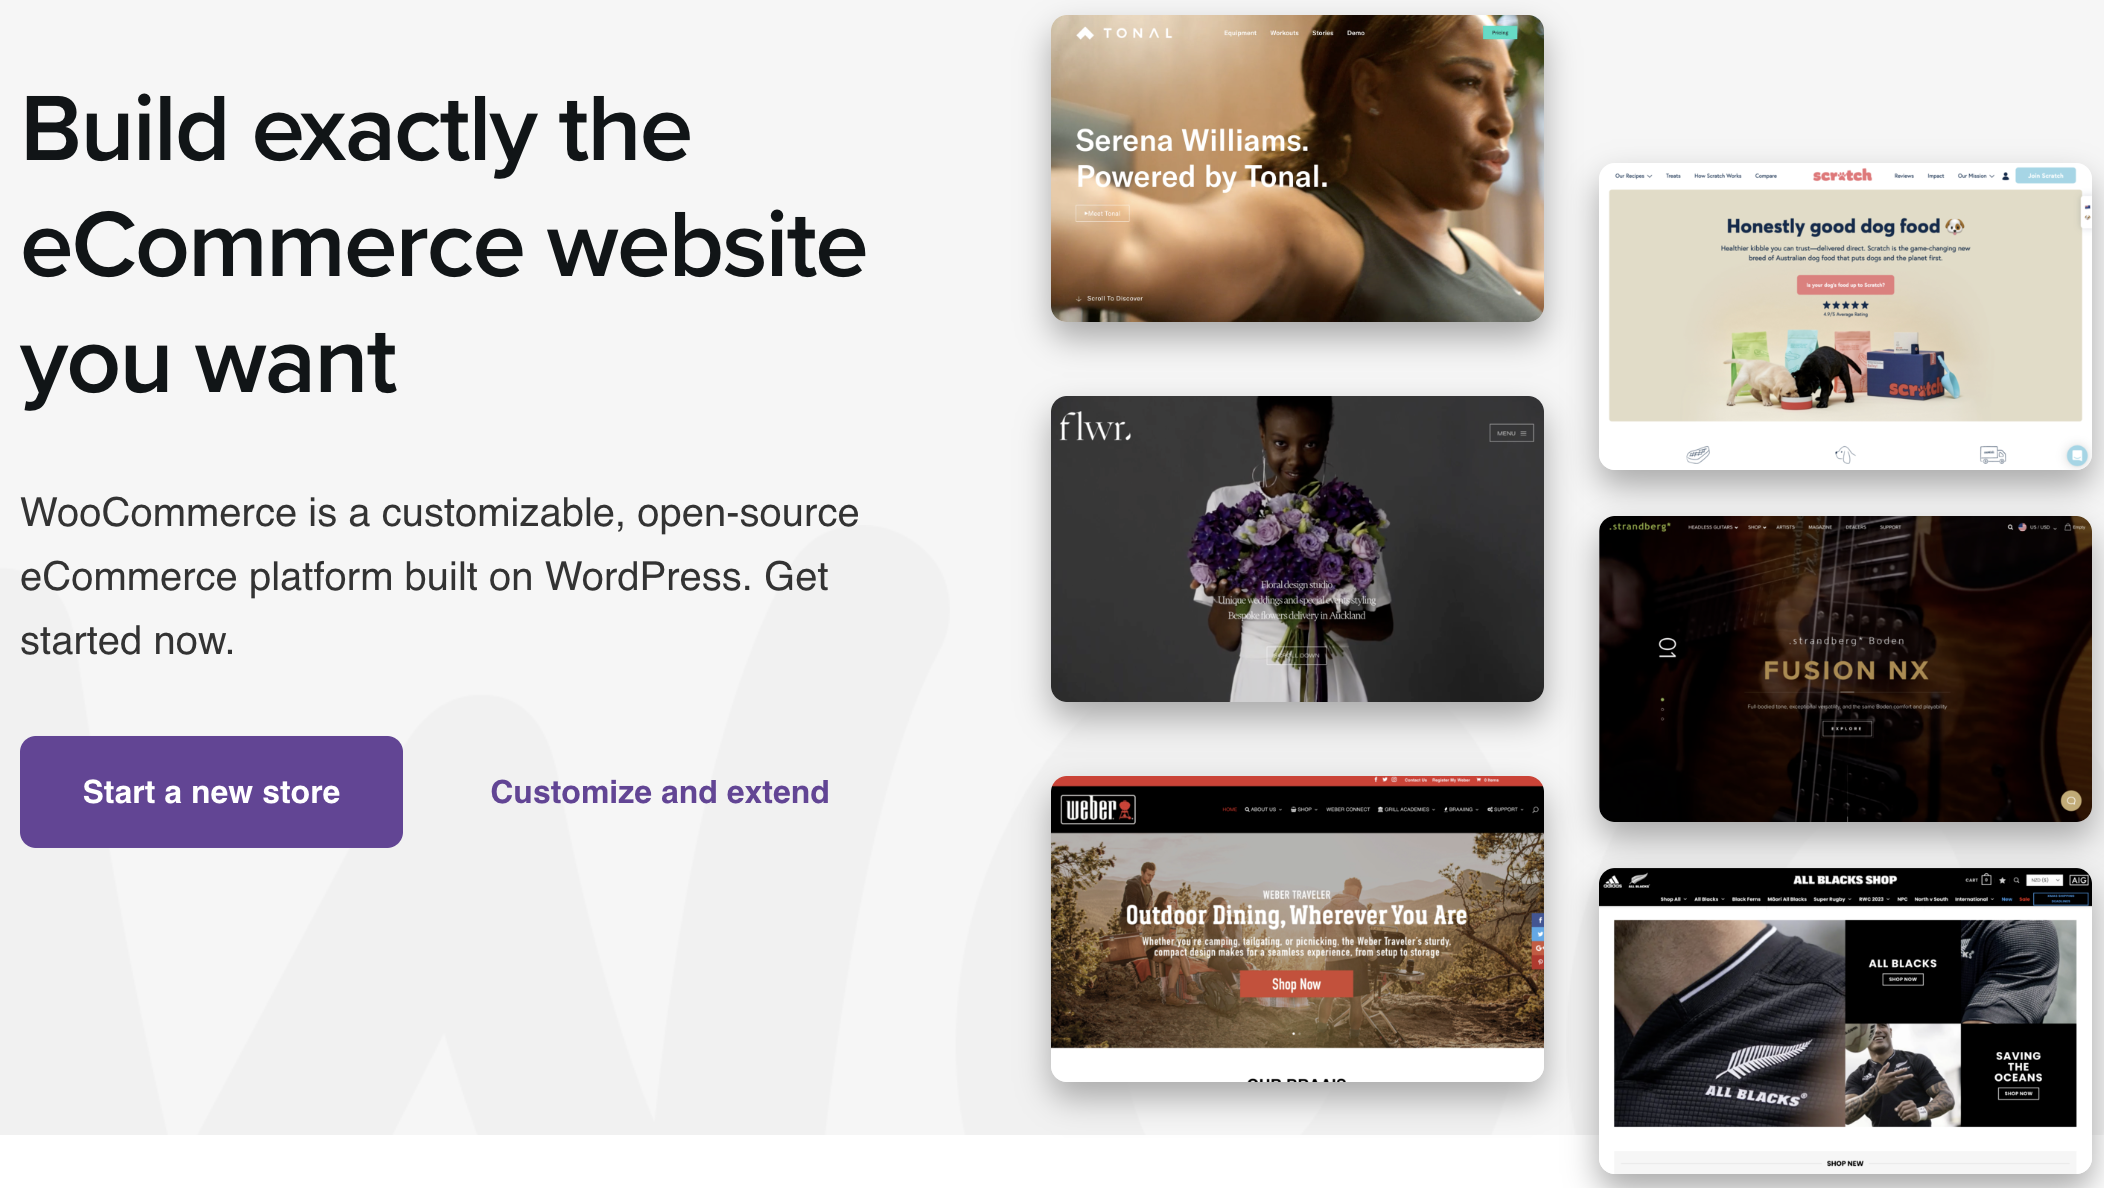
With countless extensions and tons of powerful themes, you can build and customize your ecommerce store anyway you’d like. It’s not an enigma why more than 6.3 million websites power their online shopping experience with WooCommerce.
Click here to download the WooCommerce plugin.
Now that you have Uncanny Codes, Automator, and WooCommerce, there isn’t a spy on earth who can make codes faster than you. In the next section, we’ll show you how to generate codes, create WooCommerce products to sell them and how to configure automations that fit into your workflows.
How to Sell Anything with Codes
In this example, we’ll show you how to generate batches of codes that future students can redeem to gain access to online courses—almost like a cryptographic key!
Leverage partnerships with academic institutions, publishers and marketers and include these codes in printed textbooks and other hard copy content. Then, students and customers can register on your website to redeem the codes and gain access to supplementary material or special promotions.
Alternatively, with just a few tweaks to this example, you can sell codes for event registration or as event tickets, to run limited promotions, or to unlock restricted (read: top secret) content.
Here’s how it’s done.
Step 1: Generate Your Codes
From your WordPress Admin Sidebar, navigate to Uncanny Codes > Generate codes. You’ll be prompted to name the batch of codes that you want to create. We’ve named this batch of codes Introduction to Cryptanalysis.

Next, you’ll have to select a method for how you intend to use the codes. We want these codes to enroll users into LearnDash courses/groups when they are redeemed. However, we’ll be selling the codes to academic institutions, corporate entities and/or publishers to distribute to end-users on their own. In order to be able to sell the codes, we’ll have to select the Uncanny Automator option.

Under Code settings, in the field labeled Number of uses per code, set the value to “1”. Setting the number of uses, or redemptions, per code to anything other than “1” will prevent you from being able to sell them.
Set an expiration date and time. If you’re selling these codes to an academic institution or textbook publisher, you can set the expiration date and time to coincide with the academic year and/or the publication date of new textbook editions.
Next, select Auto-generate codes.

No two codes are alike—that’s what makes them so tough to crack. To auto-generate your codes, fill in the remaining fields as desired. For example, we’re creating 1,000 unique codes with the suffix “01” for our own internal record keeping purposes. Alternatively, someone selling event tickets in the form of codes might choose location prefixes or suffixes to denote cities, states, and/or countries. In later steps, you’ll see how you can use filters to sort users into different workflows based on data such as code prefixes and suffixes.

After you’ve configured your code settings, click Generate codes and create a recipe.
Step 2: Create a New Recipe
Once your codes have been created, Uncanny Codes will take you to an Uncanny Automator recipe editor screen that will look something like this:

Much like with your batch of codes, the first thing you’ll want to do is give your recipe a name that makes it easy to recognize at a glance. For example, we’ve named this recipe Uncanny Codes—LearnDash: Introduction to Cryptanalysis.
Next, in the Actions panel, click Add action. From the menu of available integrations, click LearnDash.
From the drop-down list that appears, select Enroll the user in a course and select the course that you want to associate with your new batch of codes. When you’re finished, click Save.

In the Recipe box in the upper right-hand corner, toggle the recipe from Draft to Live.

This automation will ensure that end-users crack the code (i.e., get enrolled in your supplementary course when they enter a code).
Step 3: Create a New Product
In the Automator recipe editor screen, you would have seen a friendly reminder to create a product associated with your new batch of codes so that you can sell them in your WooCommerce store.

After you’ve created your recipe, from your WordPress Admin Sidebar, navigate to Products > Add new. In the Product data panel, set the product type to Codes for Uncanny Automator.

Once you’ve set the product type to Codes for Uncanny Automator, the product will automatically be set to Virtual.
Each unique code that is part of a batch is sold individually. As such, the Regular price reflects the price per code. We’ve selected our code batch, Course Access, and set the price per code at $5.00.

Finish configuring your product as desired, including setting the title, product description, low stock threshold, etc. When you’re finished, click Publish.
Congratulations! You’re now ready to sell codes—just don’t get caught.
Step 4: Start Selling Codes
The next step in selling your codes is setting up a smooth workflow that minimizes friction for your customers and end-users and maximizes your sales.
Based on our product configurations, this is how our customers (academic administrators, publishers, etc.) will view the product page for our access codes:

Once this customer completes their shopping experience, they will pay $5.00 each for five (5) unique codes.

After their order has been completed, the customer will land on a confirmation page with their purchased codes and a clickable Download CSV button. They’ll also receive an email with their codes along with a .csv file with the same information.

If we return to the product editor screen after the customer’s purchase as a site administrator, we can see that our inventory of codes has been reduced by five (5) with 995 still available for sale.

Step 5: Create a Code Redemption Workflow
Once your customers have purchased their codes, they can decide their own method of distribution to the end-user. For example, textbook publishers can print one code in each textbook with instructions for code redemption. Marketers can do the same with their hard copy content or with user-restricted content on their own digital platforms. Academic institutions and office administrators can send the codes via email within their organizations.
To finally crack the code, however, the end-users will need some help from you.
If you are using the Gutenberg block editor, you can simply drag and drop the User Redeem Code block into the page you are editing. Alternatively, you can copy and paste the shortcode [uo_user_redeem_code] into a shortcode block.

More advanced WordPress users can find alternate ways to incorporate code redemption into their workflows. For example, you can combine Uncanny Codes’ native WPForms integration along with Elementor Pro to create a sleek popup like the one below for users to redeem their codes.

Next, create an Uncanny Automator recipe that displays the Elementor popup after a user logs in to your website for the first time.
Users might accidentally click out of your popup without having redeemed their code. Give users the option to recall the popup with an Automator magic button.
In a new recipe editor, in the Triggers panel, select Automator from the menu of available integrations.

From the drop-down list that appears, select A user clicks a magic button.

The trigger contains a shortcode that you can copy and paste to embed the magic button anywhere on your website—for example, a user account page.

Recreate the Elementor Pro popup action from the previous recipe in the Actions panel and toggle your recipe from Draft to Live.

Your new users will be cracking codes like chestnuts!
Bonus: Create a Code Tracking Network
Every master codebreaker knows; you’re only as good as your spy network. If you or your customers need to keep track of code usage—for example, a compliance officer tracking employee enrollment in your course(s)—you can set up this recipe or one similar to it.
(Note: if you set up this recipe to track code usage, you can delete the recipe we made in “Step 2” once this one is Live as adding a user to a LearnDash group also gives them access to the courses associated with that group.)
We’ll start by setting up a trigger and action that creates a LearnDash group when a user purchases codes.
From your WordPress Admin Sidebar, navigate to Automator > Add New. In the pop-up window that appears, select Logged-in users and click Confirm.

Name your recipe. We’ve named this recipe WooCommerce-LearnDash: Introduction to Cryptanalysis.
In the Triggers panel, from the menu of available integrations, click WooCommerce. From the drop-down list that appears, select A user pays for, lands on a thank you page for an order with a product.

Next, in the Actions panel, click Add action. From the menu of available integrations, click LearnDash.

From the drop-down list that appears, select Create a group.

Automator will present you with an editor where you can configure the group settings. We’ve used a token (a dynamic piece of data pulled from our website) to complete the Group name.

When you’re finished with your configurations, click Save. Your action should look like this:

Now, to complete our “spy network” we’re going to add a second trigger and a second action along with a filter.
In the Triggers panel, click Add trigger then click WPForms or whichever form-building plugin you used for your code redemption form. From the drop-down list that appears, select A user submits a form and select the form that contains the code redemption field. Click Save.
At the top of the Triggers panel, ensure that the Run recipe when setting is set to Any.

In the Actions panel, click Add action then click LearnDash. From the drop-down list that appears, select Add the user to a group.

Automator will prompt you to select a group. Because the group to which we will be adding these users has not yet been created (i.e., another user has not yet purchased the codes) we’re going to use a powerful feature called action tokens (dynamic pieces of data pulled from within the same recipe).
In the Group field, select Use a token/custom value.

In the empty field that appears, click the Asterisk, the token symbol. Under Actions, select Create a group > Group ID. When you’re finished, click Save.

With both actions, your Actions panel should look like this:

In our example, the user who purchases our codes (administrators, publishers, etc.) is not the same user who will be enrolling in our course (students, employees, etc.). As such, we need a way to “filter” users into the correct set of actions.
In the Actions panel, hover over the Create a group action and click Filter.

In the Conditions window that appears, select WooCommerce > The user has purchased a specific product.

In the window labeled Configure the rule, select the product associated with your codes. In our example, that’s Introduction to Cryptanalysis.

After you’ve selected your product, click Save filter. The action should now look like this:

To ensure that group leaders are not included as group members, you can add another filter to the Add the user to a group action as follows:

With these filters in place, Automator will sort users into groups to suit our workflow.
To complete our “network” and notify the group leader whenever a code is redeemed, we can add another action.
In the Actions panel, click Add action then click LearnDash. From the drop-down list that appears, select Send an email to Group Leaders of a group.

Automator will present you with an editor where you can configure the email message to send to group leaders whenever a user fills out the redemption form. Use tokens to include the user’s name and the code they redeemed.

When you’re finished, click Save. Your Actions panel should look like this:

Finally, in the Recipe box, click Edit next to Times per user and set the value to “1”. This will ensure that, if a user goes on to purchase more codes from this batch in a separate transaction, they won’t create duplicate groups.
Toggle the recipe from Draft to Live.

Keep Cool, Keep Coding
Now that you’re a master codebreaker, we bet there isn’t anything you can’t sell on your website with the right code, product and recipe settings. What are some of the codes that you need us to crack? Let us know in the comment section below. Until then, keep cool and keep coding!